
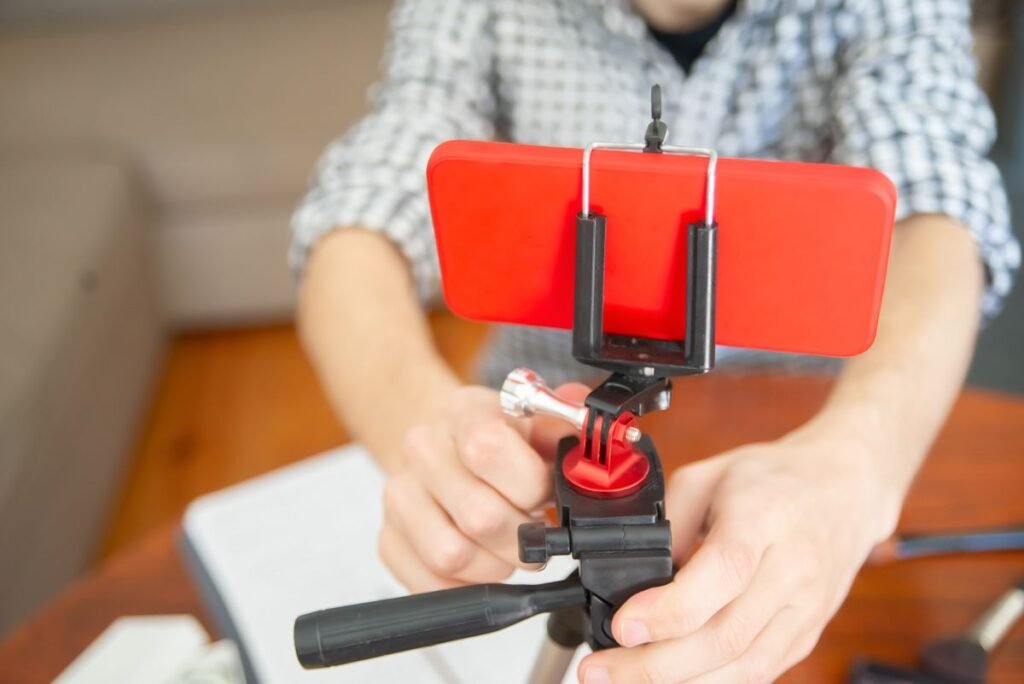
Going live has become one of the most direct ways to connect with an audience on TikTok, and a lot of creators want to know exactly how to go live on TikTok without wasting time hunting through menus or guessing at settings. The good news is that the process itself is fairly simple once you understand the requirements and have your setup ready. The part that trips people up is usually eligibility, preparation, and knowing what to do once the stream actually starts. This guide walks through everything from the account requirements to the exact steps for starting a broadcast, the equipment that actually matters, how to keep a room engaged, and the mistakes that quietly sink otherwise promising live streams.
Before diving in, it is worth saying clearly: TikTok changes its LIVE features, eligibility thresholds, and interface layout fairly often. Menu names shift, buttons move, and numeric requirements for age or follower counts have been adjusted more than once over the years and can also vary depending on your region and local regulations. Nothing in this article should be treated as a permanent, universal number. Instead, treat the specifics here as a reliable general framework, and always confirm your own account’s current LIVE eligibility status inside the app itself before you plan around it, since that status screen will reflect whatever rules apply to your account right now.
Understanding the Requirements: How to Go Live on TikTok Eligibility
TikTok does not allow every account to go live the moment it is created. There is a vetting layer built into the platform, largely because live video carries more moderation risk than a pre-recorded post. A live broadcast is unscripted, unedited, and happening in real time, so TikTok wants some assurance that the person going live understands the platform’s community guidelines and has an account history that suggests they are unlikely to cause problems. This is why the path to unlocking LIVE typically involves a combination of an age minimum and a minimum follower count, along with a generally healthy account standing.
Age Requirements
TikTok has historically required users to be above a certain age threshold, generally higher than the minimum age to use the app at all, before they can host their own live stream. This is a deliberate safety measure, since live streaming opens up direct real-time interaction with strangers, including comments, gifts, and potentially large audiences. Because TikTok has adjusted age-related policies for LIVE features in the past, and continues to review them in response to regulatory pressure in different countries, do not assume the age requirement you read about last year, or even in an older blog post, is still accurate today. Check the LIVE section of your own account settings for the current figure.
Follower Count Requirements
In addition to an age minimum, TikTok has generally required accounts to reach a certain follower count before LIVE access unlocks. The idea behind this threshold is similar to the reasoning behind the age requirement: an account with an established audience and posting history has demonstrated some familiarity with the platform and its rules. Follower thresholds for unlocking LIVE have been adjusted by TikTok more than once, and separate, sometimes lower, thresholds have existed for accessing LIVE from a computer versus a phone, or for specific features like receiving virtual gifts. Rather than fixating on an exact number, focus your energy on steady, consistent posting so your follower count and account trust grow together. Once you are close to any published threshold, check your account’s LIVE settings directly for a precise readout of what you still need.
Account Standing and Community Guidelines History
Beyond age and followers, TikTok also looks at whether an account is in good standing. Accounts with a history of community guideline violations, repeated content takedowns, or restrictions may find that LIVE access is delayed, limited, or revoked even after it was previously unlocked. This is worth keeping in mind if you are building toward LIVE eligibility. Avoid posting content that skirts platform rules, respond to any strikes or warnings promptly, and generally treat your account’s compliance history as an asset you are protecting, not just a box you checked once.
Regional Variation
Requirements are not necessarily identical everywhere. Different countries have different regulations around minors, online broadcasting, and virtual monetization, and TikTok adjusts its rules by region to comply with local law. A friend or fellow creator in another country describing a different experience with LIVE eligibility is not necessarily wrong or misremembering. It may simply reflect a genuinely different rule set in their market.
| Requirement Area | General Description | Why It Exists |
|---|---|---|
| Minimum age | Typically set higher than the platform’s general minimum age, and reviewed periodically by TikTok | Live interaction with strangers, gifting, and real-time comments carry more risk than static posts |
| Follower count | A minimum number of followers is generally required before the LIVE option appears, with figures having shifted over time | Signals an account has some history and audience familiarity with the platform |
| Account standing | Accounts should be free of recent serious guideline violations or active restrictions | Reduces the likelihood of live moderation problems |
| Regional rules | Exact thresholds and age rules can differ by country due to local law | Compliance with regional regulations governing minors and online broadcasting |
| Device used | Some LIVE-related features, such as broadcasting from a computer or receiving gifts, have carried separate requirements from standard mobile LIVE access | Different technical and safety considerations apply to different access points |
| Current status check | The in-app LIVE settings screen shows your account’s real-time eligibility status | Requirements are updated by TikTok periodically, so the app itself is the most current source |
If you check your account and find that LIVE is not yet available to you, the most productive response is simply to keep posting consistent, guideline-friendly content and let your account grow naturally. Trying to find workarounds or shortcuts to unlock LIVE early is generally not worth the risk to your account standing.
How to Go Live on TikTok: The Step-by-Step Setup Process
Once your account meets the current requirements, the actual process of starting a broadcast is fairly quick. TikTok has reorganized its interface a number of times, so the exact icon shapes and menu wording described below may shift slightly, but the overall sequence has remained fairly stable. Here is the general path for how to go live on TikTok from a mobile device.
- Open the TikTok app and locate the create button. This is typically the plus-shaped icon centered at the bottom of the main navigation bar. Tapping it opens the content creation screen, which is the same starting point used for regular video posts, so do not worry if it initially looks like you are about to record a normal video.
- Select LIVE from the format options. Along the bottom of the camera screen, you will usually see a horizontal row of format choices, such as options for standard video, photo modes, and LIVE. Swipe or tap until LIVE is highlighted. If LIVE does not appear as an option, this usually means your account has not yet met the eligibility requirements described earlier, and it is worth checking your account status directly.
- Add a title for your broadcast. Before you go live, TikTok will prompt you to enter a short title describing what the stream is about. Treat this the way you would a video caption or headline. A clear, specific title helps people scrolling through the LIVE feed understand what they are about to click into, rather than a vague or generic phrase that gives no indication of the content.
- Choose a cover image if prompted. Some versions of the app allow you to select or capture a cover image that represents your stream before it starts. If this option appears, pick something clear and well lit rather than a rushed or blurry frame, since it is often the first thing potential viewers see.
- Review and adjust your stream settings. Before going live, look for a settings icon near the title field. This is where you can typically manage who can comment, whether comment filtering is active, minimum age or follower requirements for viewers in some configurations, and permissions related to gifts. Taking thirty seconds here to set filters the way you want them saves headaches once viewers start joining.
- Select your camera and audio input. Confirm whether you want the front or rear camera active, and check that the correct microphone is selected if you are using an external one. It is worth doing a quick sound check before committing, since audio problems are much harder to fix once a live stream has started and people are already watching.
- Tap the Go LIVE button. Once your title, cover, and settings are the way you want them, tapping this button starts the broadcast immediately and notifies at least some portion of your followers that you are live. There is generally no countdown, so make sure you are ready to speak or perform as soon as you tap it.
- Monitor the waiting viewers as they join. In the first moments of a stream, it is common to see a small trickle of viewers rather than an instant crowd. Use this window to greet early arrivals by name, since they are often your most loyal audience members and appreciate the acknowledgment.
- Run your planned content and adapt as needed. As the stream continues, follow the loose structure you prepared beforehand while staying flexible enough to respond to comments, questions, and requests as they come in.
- End the stream deliberately. When you are ready to finish, look for the close or end icon, usually represented by an X in a corner of the screen. TikTok will typically show you a short end screen with viewer counts, new followers gained, and other summary information before fully exiting LIVE mode.
That sequence covers the mechanical side of how to go live on TikTok, but the steps themselves are only part of the picture. What happens in the minutes and days before you tap that Go LIVE button often determines whether the stream actually succeeds.
Pre-Stream Preparation That Actually Makes a Difference
New streamers tend to focus almost entirely on the moment of going live and underestimate how much preparation shapes the outcome. A stream with strong preparation and modest production value will usually outperform a stream with expensive gear and no plan.
Lighting
Lighting is one of the cheapest and most impactful upgrades available to a live streamer. A face lit evenly and clearly reads as more trustworthy and watchable than one lit unevenly by a single harsh overhead light or a window at a bad angle. If you are streaming during the day, facing a window so that natural light hits your face directly, rather than streaming with a window behind you, makes an enormous difference. At night or in a room without good natural light, even one small affordable light placed slightly above and in front of your face can transform how a stream looks.
Audio Quality
Viewers on TikTok will tolerate imperfect video quality far more readily than they will tolerate audio that is muffled, echoing, or drowned out by background noise. If people cannot hear you clearly, they will scroll away within seconds, regardless of how interesting your content is. Before every stream, do a quick test: record a few seconds of yourself talking at normal volume from your usual streaming spot, play it back, and listen specifically for echo, hiss, or background hum from fans, appliances, or traffic. If you notice any of these problems, try moving to a smaller or softer-surfaced room, turning off nearby appliances, or repositioning your microphone closer to your mouth.
Stable Internet Connection
A live stream that repeatedly freezes, drops, or drops connection entirely is one of the fastest ways to lose an audience’s patience. Whenever possible, stream on a strong and stable connection, and if you are relying on mobile data, check your signal strength before committing to a long session. If you have access to a reliable home internet connection, positioning yourself close to the router or using a stronger signal source is generally more dependable than relying on a weak or shared connection at a busy public location. It also helps to close other apps or downloads running in the background on your device that might be competing for bandwidth during the stream.
Having a Content Plan Rather Than Going in Blind
One of the most common and most avoidable mistakes is opening a live stream with absolutely no idea what to talk about or do. Even a loose outline, three or four topics, a rough order of activities, a couple of questions you want to pose to viewers, gives a stream direction and prevents those uncomfortable silent stretches where a host is visibly unsure what to say next. This does not mean the stream needs to feel scripted or stiff. The most successful streamers use a plan as a loose skeleton they can adapt in real time, not a rigid transcript they read word for word. Think of it the way a stand-up comedian thinks of a set list: enough structure to keep momentum, with plenty of room to riff based on the room’s reaction.
Setting Expectations With Yourself About Timing
Decide roughly how long you intend to stream before you start, and communicate that early on if it feels natural, since some viewers decide whether to stick around based on how much time they think they have. Streams that run too short may not give the algorithm or word-of-mouth sharing enough time to build momentum, while streams that run drastically longer than planned without any pacing can lead to burnout, both for you and for the audience.
Equipment Tiers: From Phone-Only to a Full Setup
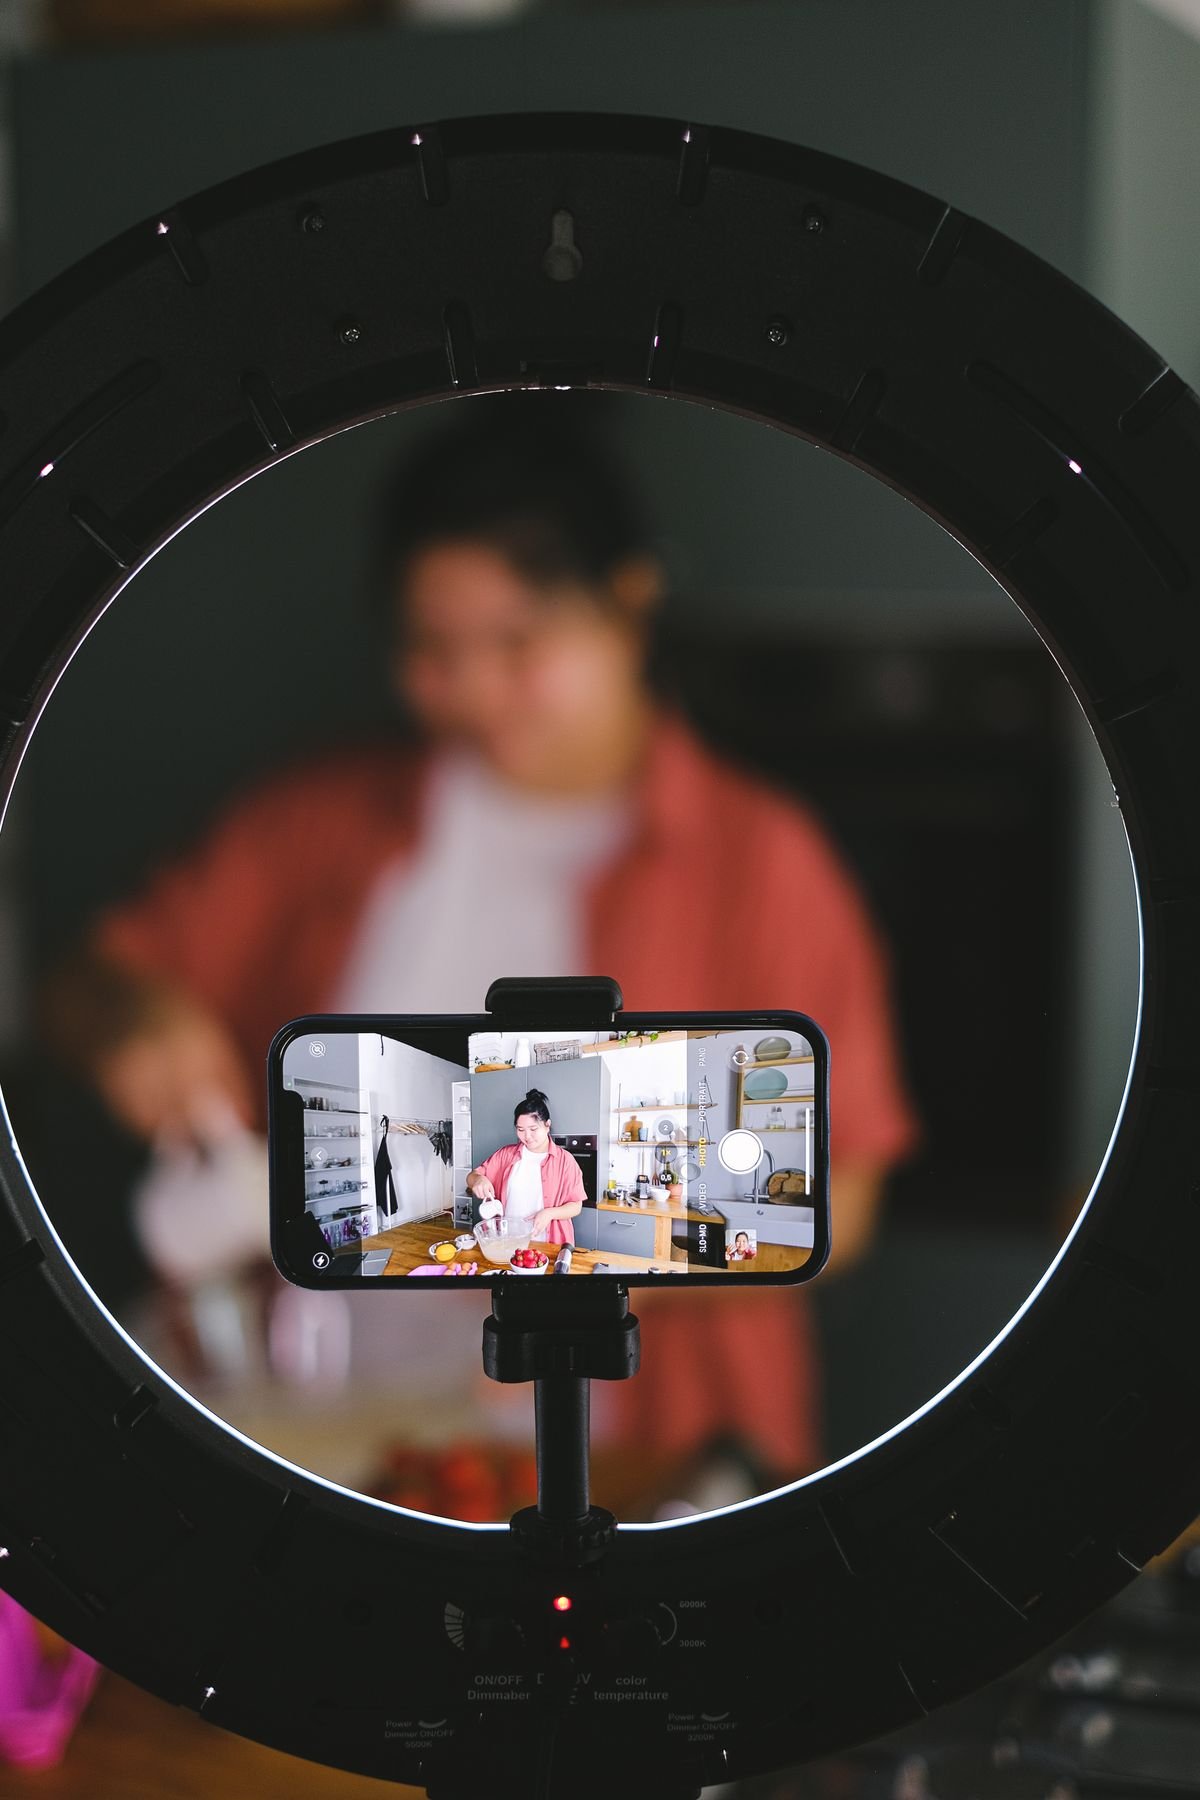
You do not need expensive equipment to succeed at live streaming, especially when you are just starting out. What matters more is understanding which upgrades genuinely improve the viewer experience and in what order they are worth pursuing. The table below breaks equipment into tiers, moving from a setup almost anyone already owns to a more advanced configuration for creators who are streaming regularly and want to invest further.
| Tier | Camera | Audio | Lighting | Best For |
|---|---|---|---|---|
| Basic (phone-only) | Front-facing phone camera, propped against a stable object or stand | Built-in phone microphone, used in a quiet room | Natural window light or an existing ceiling or lamp light angled toward the face | Absolute beginners testing the format before investing in anything |
| Improved starter | Phone mounted on an inexpensive tripod or clamp for stability | Basic clip-on lavalier microphone connected to the phone | A single affordable ring light or desk lamp with a diffuser | Creators streaming a few times a week who want noticeably clearer audio and steadier framing |
| Intermediate | Phone with a wide-angle or clip-on lens attachment, or an external webcam if streaming from a computer | USB or wireless external microphone positioned near the mouth | Ring light plus one supplementary side light to reduce shadows | Regular streamers building a consistent visual identity across sessions |
| Advanced | Dedicated camera or high-end webcam with manual focus and exposure control | Dedicated external microphone with an audio interface or mixer for fine control | Multi-point lighting setup with key, fill, and background lights | Creators treating live streaming as a core, recurring part of their content strategy |
A useful way to think about these tiers is as a progression tied to how often you stream, not a checklist you need to complete before your first broadcast. Someone who streams once a month has very little reason to invest in a full multi-light setup. Someone streaming several times a week and building an audience around live content, on the other hand, will likely notice real returns from the intermediate or advanced tier, both in watch time and in how professional the stream feels to returning viewers. The single highest-value upgrade for most beginners, if you can only make one change, is external audio. A cheap clip-on microphone almost always produces a bigger improvement in viewer experience than a nicer camera does.
Moderation Tools Available During a Live Stream
Live video comes with a level of unpredictability that pre-recorded posts do not have, and TikTok provides a set of moderation tools built into the LIVE experience to help hosts keep their stream on track. Learning these tools before you need them is far better than fumbling through menus mid-broadcast while a disruptive comment thread is unfolding.
Blocking and Muting Disruptive Viewers
If a specific viewer is being disruptive, sending inappropriate comments, spamming, or otherwise derailing the conversation, hosts generally have the ability to mute or block that individual directly from the live interface, usually by tapping on their name or comment and selecting a moderation option from a menu that appears. Muting typically prevents that viewer from commenting further during the current session without necessarily removing them from your account entirely, while blocking is a more permanent step. Reserve blocking for genuinely serious violations, and use muting for lower-level disruptions, so you are not escalating unnecessarily.
Comment Filtering
TikTok’s LIVE settings typically include filtering options that can automatically hide comments containing certain flagged words or phrases before they ever appear on screen. Enabling this kind of filter before you start streaming, particularly if you expect a large or unfamiliar audience, can prevent a lot of moderation work from ever becoming necessary in the first place. It is worth periodically reviewing what filtering options are available in your settings, since TikTok has added and adjusted these controls over time.
Appointing Moderators
For creators who stream regularly or who tend to draw larger audiences, TikTok has offered the ability to appoint trusted viewers as moderators for a given stream. A moderator can typically help manage comments, mute or remove disruptive viewers, and generally assist with keeping the chat environment healthy, freeing up the host to focus on content rather than constantly policing the comment feed. If you have a friend, business partner, or a longtime loyal viewer you trust, appointing them as a moderator during busier streams can meaningfully reduce your own moderation burden and let you stay present with the conversation instead of splitting attention between performing and policing.
Setting Viewer Restrictions in Advance
Some configurations allow hosts to set minimum requirements for who can comment or join certain features of the stream, such as restricting comments to accounts above a certain age or account age threshold. Reviewing these options before going live, especially for topics that might attract a difficult audience, is a reasonable precaution rather than an overreaction.
Reporting Serious Violations
For anything that crosses into harassment, threats, or content that violates TikTok’s community guidelines in a serious way, use the in-app reporting tools rather than trying to handle it entirely through muting or blocking alone. Reporting helps TikTok’s broader moderation systems address repeat offenders across the platform, not just within your individual stream.
Engagement Tactics That Keep Viewers Watching
Once the mechanics of going live are handled and moderation tools are set up, the real work of a successful stream is engagement. A stream can have perfect lighting and audio and still feel flat if the host never interacts meaningfully with the people watching.
Responding to Comments by Name
One of the simplest and most effective habits a live host can build is calling out commenters by their username as you respond to them. This small gesture makes viewers feel individually acknowledged rather than anonymous, and it noticeably increases the likelihood that they comment again later in the stream, and return for future streams. It also signals to newer viewers watching silently that comments actually get read and responded to, which encourages them to participate as well.
Using Viewer Questions to Guide the Content
Rather than treating your prepared outline as fixed, let the questions and comments coming in shape where the conversation goes. If several viewers ask about the same topic, that is a strong signal worth pausing your plan to address directly. This kind of responsiveness is one of the biggest advantages live content has over pre-recorded video, and ignoring it in favor of sticking rigidly to a script wastes the format’s biggest strength.
Encouraging Shares and Continued Engagement
Direct, specific asks tend to work better than vague ones. Instead of a generic request to share the stream, try being specific about who might find it useful, for example suggesting viewers tag a friend who would enjoy a particular segment or topic coming up. Similarly, reminding people partway through the stream that they can follow along for future sessions, rather than only mentioning it once at the very start, helps convert casual viewers who joined mid-stream.
Creating Small Moments of Interaction
Simple interactive elements, quick polls done verbally, asking viewers to comment a specific word if they agree with something, or inviting people to share where they are watching from, give an audience easy, low-effort ways to participate. These small moments build a sense of collective presence in the stream rather than a one-directional broadcast, and they tend to boost the overall comment activity that helps a stream gain visibility.
Pacing Energy Throughout the Stream
Long streams naturally have quieter stretches, and that is normal. The mistake is not having a slow moment, it is failing to notice and recover from one. Periodically checking in on the energy of the room, whether that means picking up the pace, introducing a new topic, or directly asking the audience what they would like to see next, keeps a stream from drifting into a flat, disengaged stretch that causes viewers to quietly leave.
TikTok LIVE Gifts and Creator Monetization
Virtual gifting is one of the features that makes live streaming appealing to many creators, since it introduces a direct way for viewers to support a host they enjoy watching in real time. Broadly speaking, viewers can purchase virtual currency within the app and use it to send animated virtual gifts to a host during a live stream, and those gifts can, under TikTok’s monetization programs, be converted by eligible creators into some form of real value. It is worth being cautious and general when discussing this topic, since the exact conversion rates, program names, eligibility requirements, and payout structures TikTok uses have changed multiple times and are likely to continue evolving.
How the General Concept Works
During a live stream, viewers who wish to show appreciation or support can send a virtual gift, which appears as a visual animation on screen and is typically announced or highlighted by the platform’s LIVE interface. Different gifts generally carry different values. Hosts who meet the platform’s monetization eligibility requirements at a given time may be able to accumulate value from these gifts through whatever program TikTok currently has in place.
Eligibility Is Separate From Basic LIVE Access
It is important to understand that being able to go live at all is a separate matter from being eligible to monetize through gifting. TikTok has generally applied additional requirements, often including age, follower count, and account standing thresholds that are stricter than the baseline LIVE eligibility, before a creator can actually receive value from gifts. Because these program-specific requirements change independently of general LIVE eligibility, and can vary by region due to differing financial and regulatory rules, the only reliable way to know your current status is to check the relevant section of your account settings directly, rather than relying on outdated information from older articles or secondhand accounts.
Treating Gifting as a Bonus, Not a Guarantee
New streamers sometimes approach live streaming with monetization as the primary goal, which can lead to disappointment if gifting income is inconsistent, especially in the early stages of building an audience. A healthier approach is to treat gifts as a potential bonus that may develop naturally out of a genuinely engaged community, while focusing your actual energy on the things within your control: consistent scheduling, real engagement, and steady growth of your audience. Creators who build a loyal, engaged following through consistently good streams tend to see stronger organic support over time than those who lead every session with requests for gifts.
Being Transparent With Your Audience
If gifting becomes a meaningful part of your streams, being straightforward about how it works and genuinely thanking viewers who choose to send something helps maintain trust. Audiences generally respond well to hosts who treat gifting as a nice-to-have expression of support rather than something demanded or expected as a condition of continuing to produce content.
Comparing Live Content Formats and Strategies
Not every live stream needs to look the same, and different formats tend to suit different goals, audience sizes, and levels of experience. Understanding the tradeoffs between common formats can help you choose an approach that fits both your comfort level and what you are trying to accomplish.
| Format | Typical Structure | Strengths | Considerations |
|---|---|---|---|
| Q&A style | Host takes questions directly from live comments and answers them conversationally | Naturally interactive, low prep required, works well for building personal connection | Can lose momentum if question volume is low, especially with a small early audience |
| Tutorial or demonstration | Host walks through a skill, process, or product step by step in real time | Provides clear value viewers can act on immediately, encourages longer watch times | Requires more preparation and a stable camera angle to show the demonstration clearly |
| Behind the scenes | Host shares an ordinary activity, workspace, or process as it happens | Feels authentic and low pressure, good for building familiarity over time | Can feel aimless without at least a loose sense of what to narrate or highlight |
| Co-hosted or guest streams | Two or more people interact live together, often pulling in each other’s audiences | Introduces variety, can expand reach through the guest’s followers | Requires coordinating schedules and depends on good chemistry between hosts |
| Themed recurring series | A consistent format and time slot repeated on a regular schedule, such as a weekly discussion | Builds habitual viewership since audiences learn when to expect you | Requires long-term consistency and enough fresh material each time to avoid repetition |
Many experienced streamers eventually blend several of these formats within a single session, for example opening with a short demonstration before shifting into an open question and answer segment. Trying a few different formats early on and paying attention to which ones generate the most genuine engagement, rather than assuming one style is universally best, is generally the fastest way to find your own approach.
Post-Stream Best Practices
What you do after a stream ends is nearly as important as how the stream itself goes. Treating the end of a broadcast as the end of the entire task, rather than the start of a short follow-up process, means leaving a lot of potential value unused.
Reviewing Analytics
After ending a stream, TikTok typically provides some summary data, and more detailed analytics are often available through your account’s broader analytics section. Look at metrics like peak viewer count, total watch time, comment volume, and follower growth during the session. Over time, comparing these figures across multiple streams helps you notice patterns, for example whether certain topics, times of day, or formats consistently draw stronger engagement than others.
Clipping Highlights for Regular Posts
A live stream often contains a handful of especially strong moments, a funny exchange, a particularly clear explanation, an unexpectedly popular segment, that can be extracted and reshaped into standalone short-form posts. Repurposing these highlights extends the value of the time you already invested in the live stream and can introduce your live content to viewers who would never have caught the broadcast in real time. It also gives people a preview of what your future streams are like, which can help convert casual scrollers into live viewers.
Following Up With Your Audience
If viewers asked questions during the stream that you did not have time to fully address, following up with a dedicated post afterward shows that you were paying attention and gives you an easy source of content ideas. Similarly, thanking new followers gained during the stream, or acknowledging particularly active commenters in a follow-up post, reinforces the relationships you built during the live session.
Consistent Scheduling
Perhaps the single most underrated post-stream practice is simply committing to when your next stream will happen and communicating that clearly. Audiences build habits around predictable schedules. A streamer who goes live at wildly inconsistent times with no announced pattern makes it hard for even genuinely interested viewers to catch sessions live, which in turn limits comment activity and the sense of momentum that makes a stream feel lively. Even a modest, sustainable schedule, such as once a week at a consistent time, tends to outperform sporadic, unpredictable streaming in terms of building a loyal live audience over the long run.
Iterating Based on What You Learn
Treat every stream as a small experiment. If a particular opening line consistently keeps early viewers around longer, keep using variations of it. If a certain segment consistently causes viewers to drop off, consider cutting or reworking it. This kind of ongoing, honest self-review, informed by both the analytics and your own sense of how the room felt, is how streamers steadily improve rather than plateauing after their first few sessions.
Common Mistakes New Live Streamers Make
Many of the problems that undermine a live stream are avoidable with a little forethought. Recognizing these common pitfalls ahead of time makes it much easier to sidestep them.
Going Live With No Plan
Perhaps the most common mistake is opening a stream with no sense of direction. This often leads to long, awkward pauses, repeated apologies for not knowing what to say, and a stream that feels aimless to anyone who joins partway through. Even a short, informal list of talking points prepared a few minutes beforehand solves most of this problem.
Ignoring the Chat
Some new streamers get so focused on their own planned content that they barely glance at incoming comments. This defeats much of the purpose of live streaming in the first place, since real-time interaction is the format’s core advantage over a pre-recorded video. Viewers who comment and get no acknowledgment at all often do not bother commenting again, either in that stream or in future ones.
Inconsistent Scheduling
Streaming enthusiastically for two weeks and then disappearing for a month, only to return unpredictably, makes it very difficult to build the kind of habitual audience that live streaming rewards. Consistency, even at a modest frequency, tends to build stronger long-term results than sporadic bursts of high-frequency streaming followed by long gaps.
Poor Audio Quality Undermining Good Content
A host can have genuinely excellent, valuable content and still lose viewers rapidly if the audio is difficult to understand. Background noise, low volume, distortion, or heavy echo all create friction that causes people to scroll away, often within the first few seconds of tuning in. Because this problem is both common and relatively cheap to fix, it is worth treating audio quality as a non-negotiable baseline rather than an afterthought.
Overloading the Stream With Self-Promotion
While it is reasonable to mention products, other content, or ways to support your channel, streams that consist mostly of repeated promotional asks with little genuine value or interaction in between tend to feel transactional and can drive viewers away. A better balance leads with actual value and interaction, with promotional mentions woven in naturally rather than dominating the session.
Neglecting Lighting and Camera Framing
A poorly framed shot, one where the host is too far from the camera, awkwardly cropped, or barely visible due to poor lighting, creates unnecessary distance between the host and the audience. Since live streaming is largely about personal connection, anything that obscures the host’s face or expressions works against the format’s core strength.
Not Reviewing Past Streams
Finally, many new streamers never go back and watch even short portions of their own past streams. Reviewing your own footage, even uncomfortable as that can be at first, is one of the fastest ways to notice habits, filler phrases, pacing issues, or technical problems that are otherwise easy to miss while you are the one performing.
Frequently Asked Questions
How many followers do I need to go live on TikTok?
TikTok has historically required accounts to reach a minimum follower count before LIVE access unlocks, but the exact figure has changed over time and can vary by region and by which specific LIVE feature you are trying to access. Rather than relying on a number from an older source, check the LIVE section of your own account settings, which will show your current eligibility status based on whatever requirements currently apply to your account.
What is the minimum age to go live on TikTok?
There is generally a minimum age requirement to access LIVE, and it is typically set higher than the platform’s overall minimum age for using the app. Because TikTok has adjusted age-related policies for LIVE in the past and continues to review them, particularly in response to regional regulations, confirm the current requirement directly in your account settings rather than assuming a previously reported figure still applies.
Why don’t I see the LIVE option when I try to create content?
If the LIVE format is missing from your content creation screen, the most common explanation is that your account has not yet met the current eligibility requirements around age, follower count, or account standing. It is also possible that a recent guideline violation or account restriction has temporarily limited access. Checking your account’s LIVE eligibility status directly will usually clarify which condition applies to your situation.
Can I go live on TikTok from a computer instead of my phone?
TikTok has offered ways to broadcast LIVE from a desktop or laptop in addition to mobile devices, though the requirements and available features for computer-based streaming have sometimes differed from the standard mobile LIVE experience. If this option matters to you, look specifically for LIVE-related settings on the desktop version of TikTok to see what is currently supported for your account.
Do I need expensive equipment to start live streaming?
No. A phone propped on a stable surface with reasonable lighting and a quiet room for clear audio is enough to start. Many successful streams run on nothing more elaborate than a basic phone-only setup. Equipment upgrades, starting with an inexpensive external microphone, tend to matter more once you are streaming regularly and have a sense of which improvements would actually benefit your particular format.
How do TikTok LIVE gifts actually turn into money for creators?
Broadly, viewers can send virtual gifts to a host during a live stream using virtual currency purchased within the app, and creators who meet TikTok’s monetization eligibility requirements at a given time may be able to convert accumulated gift value through whatever program the platform currently offers. Because the specific mechanics, conversion rates, and eligibility rules for monetization have changed multiple times and can vary by region, it is best to review the current terms directly within your account’s monetization or LIVE settings rather than relying on older descriptions of the program.
Learning how to go live on TikTok is really a combination of three separate skills: understanding the eligibility landscape so you are not caught off guard, mastering the mechanical setup so technical friction never gets in the way of your content, and developing the preparation and engagement habits that turn a technically functioning stream into one people actually want to watch. None of these require perfection from day one. Most successful live streamers started with a phone, a quiet room, and a rough plan, and improved gradually by paying attention to what worked, fixing what did not, and showing up consistently. Since TikTok continues to adjust its LIVE features, eligibility thresholds, and interface over time, make it a habit to periodically check your account’s current settings rather than relying solely on what worked or was true in the past. With a reasonable setup, a bit of preparation, and consistent effort, going live can become one of the most rewarding and engaging parts of a TikTok content strategy.